Blister Blister
IMO the blister was the most fun assignment of the bunch.
First we had to cut holes into the sheet of aluminium so that the metal doesn't move when we work it. Following which, you find a shape you want to attempt, place your sheet of metal between it like a sandwich and clamp the whole thing down.


So it's really tempting to just whack it, but after try that you realise there's more finesse in getting that nice rounded finish.


It helped a little bit, however in the end, as it was too narrow it just made dents into my design. I then move back to using the plastic mallets to get the curvature in the blister.


First we had to cut holes into the sheet of aluminium so that the metal doesn't move when we work it. Following which, you find a shape you want to attempt, place your sheet of metal between it like a sandwich and clamp the whole thing down.
Sheet Metal


So it's really tempting to just whack it, but after try that you realise there's more finesse in getting that nice rounded finish.
Corking
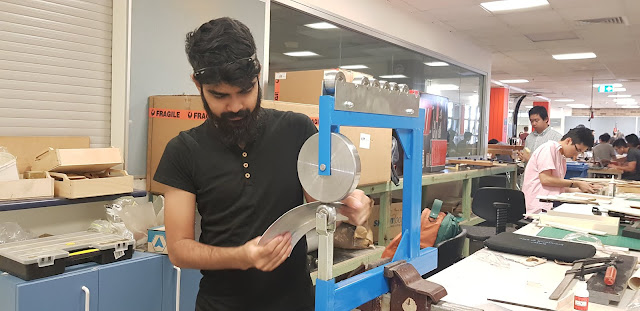
After many attempts smoothing it out using the corking tools provided as well as the hammers, I moved on to make my own corking tool. I wanted it to be more rounded so instead of most of the corking tools which were sharper, I made a rounded one. I used the lathe in the workshop to turn a off cut I found lying around.


It helped a little bit, however in the end, as it was too narrow it just made dents into my design. I then move back to using the plastic mallets to get the curvature in the blister.
F%$#
While I was trying to smoothen out some of the dimples my corking tool left, I think I may have worked the aluminium too hard and I ended up cracking the metal .

I decided to start again, but with the harder blister droplet.

Adapting my Corking tool
As this was a different shape, and significantly more narrow than the first, I knew that I would need to be more gentle with this as it may crack if I push it too much.
I needed to make more custom corking tools in order to not use too much force from the mallets and various generic corking tools.
Pictured is the earlier corking tool I made, adapted to suit the narrow part of the blister, note it also aided me in knocking in the corners very well. I also sanded down the tip of it so that it would fit the thin part of the template like a glove, allowing me to knock that in to create a more uniform and smooth dent.


I took it one step further and decided to make a complete wooden replica of the blister which I could then place in and knock in. Side view is after it had been knocked in and lost the smoothing it initially once had.


Final Results
Was pretty happy with the final results, I needed to simply work the metal a little bit more on the sandbag which gave it a smoother finish.


Comments
Post a Comment