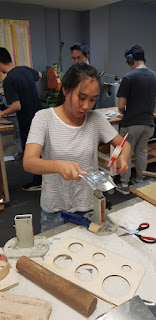
The Taurus ... wait no Torus
Class picking up a little bit with a harder assignment. In the second week of Digital Making, we had to make a Torus aka the reverse curve. Basically it involves curving metal along a plane and then curving it perpendicular to the first plane.
Now, let's go into the woes and troubles I personally faced throughout this.
So we tried both methods.
1. Gabe's method - Purely the English wheel
2. Daniel's Method - Beat the s*** out of it
Gabe's Method
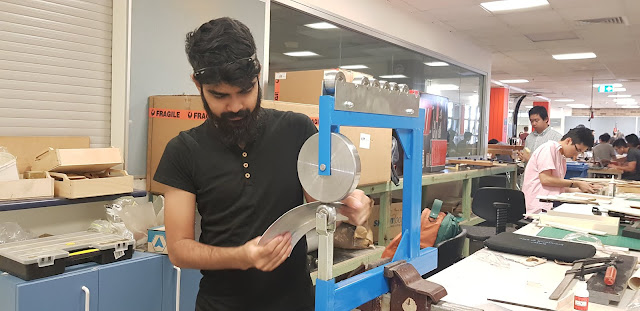
So we began with Gabe's method which began with shrinking the sheet metal to create the first curve and then using the English wheel to create the perpendicular curve.Yeah .. that didn't turn out as good as we wanted it. The tool to shrink the metal was very tough to judge and we couldn't seem to get a grip on the strength of it resulting in ...this.
The Second part of Gabe's method involved using the English wheel ... which became a game of patience. It didn't quite achieve the curve we were after.
Long story short
- Shrinker - too strong
- English Wheel - not strong enough
Daniel's Method
 I think this was the more popular method of creating the torus due to the speed in which you can produce the curve as well as allowing you to create a deeper curve. (sorry Gabe)
After scoring the flat sheet of aluminium to indicate the hit points, we placed it over the stump provided, bending it to form the initial curve. We then used a mallet to hammer in the perpendicular curve. This resulted in a really unrefined version of what we expected from the final product. The rest of the time would be used in working the metal to smoothen it out.
 Using the planishing hammer, we got a more refined and defined curvature to the Torus. The only thing with the planishing hammer is that once the curve is set, you need to be careful that the edges of the hammer isn't hitting the torus as it will leave sharp dents which are incredibly hard to take out.
And then Bam you get this guy


Comments
Post a Comment